Create your own shiny Open Graph images with Imagine PHP
You might not have noticed, but we use our own custom Open Graph preview images for our articles. Some of you asked us how we did it, so here you go! In this article we will explain how to use the php-imagine/Imagine library to create some preview images suited to your needs like we did:

For this article, we will pretend that our company is named “Square Corp” and that our company’s logo is a purple square. Our preview images will be constituted of this logo, the title of the article, the date of publication, the author, and a purple footer. Oh, and to spice things up, we will use a photo of Nicolas Cage as a background image. Why not?
Section intitulée first-things-first-setting-up-the-libraryFirst things first: setting up the library
All our code will be located in a single class named ArticlePreviewRenderer. A gist of this class is available at the end of the article.
The only thing we will need before starting is to require the library:
composer require imagine/imagineThen you need to choose the driver Imagine will use. In this article we will use Gd, but you could also use Imagick or Gmagick if you prefer. You might have to install some php extensions to use them however.
Once you choice is made, instantiate the Imagine instance corresponding to your driver:
use Imagine\Gd\Imagine;
$imagine = new Imagine();
Then we are all set up! We are ready to head towards the first step of our work of art: the purple footer.
Section intitulée drawing-shapes-and-filling-them-with-colorDrawing shapes and filling them with color
The footer is basically a rectangle at the bottom of a base image. We will use the previous Imagine instance to create the first element needed to draw a rectangle: an Image. This Image will be the support on which we will draw. We could compare it to a sheet of paper. We will give it a width of 1200 pixels and a height of 600 pixels thanks to a Box, another Imagine class used to define dimensions. Finally, we will save our new image.
Here is what our ArticlePreviewRenderer looks like:
<?php

namespace App\ArticlePreview;

use Imagine\Image\Box;
use Imagine\Image\ImagineInterface;

class ArticlePreviewRenderer
{
    public function __construct(
        private readonly ImagineInterface $imagine,
        private readonly string $publicDir,
        private readonly int $imageHeight = 600,
        private readonly int $imageWidth = 1200,
    ) {
    }
    public function generatePreviewImage(): void
    {
        $image = $this->imagine->create(
            new Box($this->imageWidth, $this->imageHeight),
        );

        $image->save($this->publicDir . '/img/shinyPreviewImage.png');
    }
}
Now that we have our base image, we may start drawing on it. We will first instantiate a Drawer, a class that will allow us to draw various elements. To do so, our image provides a method: draw(). This method instantiates and returns the desired Drawer.
We will draw our footer in a separate method: drawFooter(). Add these two lines to generatePreviewImage():
$drawer = $image->draw();
$this->drawFooter($drawer);
In our drawFooter() method, we will use the newly created Drawer to draw a rectangle. It is fairly easy: the Drawer provides a rectangle() method. However, the Drawer needs to know where to start drawing the rectangle and where to stop. To provide it with that information, we use a Point class, which indicates coordinates. We need 2 coordinates: the top left corner and the right bottom corner. Then we will pass the border color and a flag telling whether we want the rectangle to be filled with this color.
Our complete drawFooter() method looks like this:
// Our footer will start at the left edge of the image and 150 pixels before its bottom
$leftTop = new Point(0, $this->imageHeight - 150);
// And it will stop at the right bottom corner of the image
$rightBottom = new Point($this->imageWidth, $this->imageHeight);

$drawer->rectangle(
    $leftTop,
    $rightBottom,
    $this->rgb->color('#9900FF'),
    true,
);
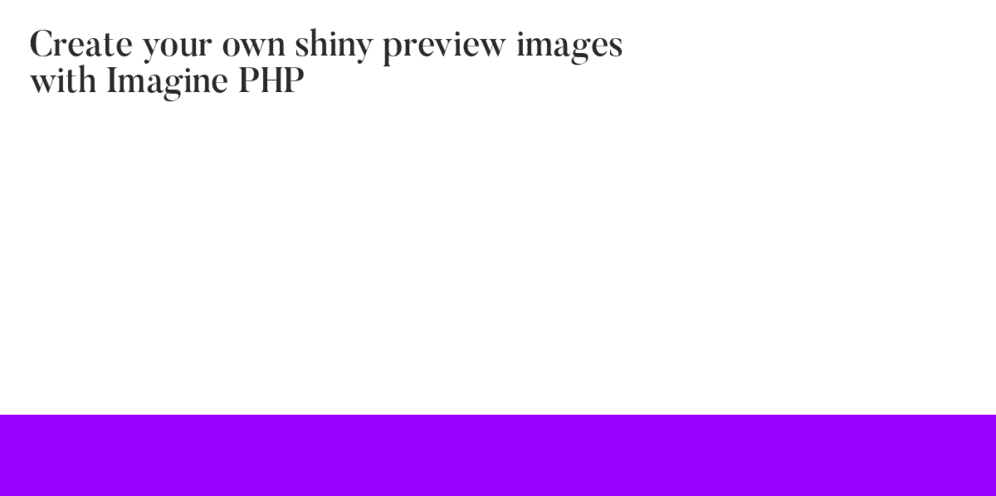
If we try to display our new image in the browser, we see a purple rectangle! Our footer background is ready.

Next step to generate a shiny preview image: writing a title.
Section intitulée writing-text-on-the-pageWriting text on the page
Now that we’ve learned about the Drawer and about Points, you may have an idea of how we’ll write text on our image. Maybe you guessed it: the Drawer has a text() method. How convenient! And, unsurprisingly, it will require a Point to be placed at the right spot.
Writing text however implies a few differences when compared to drawing a rectangle.
The first one is that we will have to use a font. In our case, we chose Butler. To use it, the Imagine library provides us with yet another convenient class: the Font one. It will require the path of the font, the size it should have, and its color.
Then, we can give an angle to the text to give it some inclination. For an article title, it seems quite inadequate, so we’ll leave this parameter to the default 0. Finally, we may provide the text with some width, which will determine at what point the text should have line breaks. Oh, and obviously we need to give it the text we want to see written. It is actually the first argument of the draw method. Let us have a look at the new drawTitle() method:
private function drawTitle(DrawerInterface $drawer): void
{
    $titleFont = new Font(
        $this->publicDir . '/font/Butler/Butler_Medium.otf',
        32,
        $this->rgb->color('#2b2b2a')
    );

    $drawer->text(
        'Create your own shiny preview images with Imagine PHP',
        $titleFont,
        new Point($this->marginSize, $this->marginSize),
        0,
        $this->imageWidth / 1.5
    );
}
And we now may see our article title on our image:
Since you might use some long article titles, you will want to truncate them to prevent them from overflowing on the footer:
if (\strlen($titleText) > 90) {
	$titleText = substr($titleText, 0, 87) . '...';
}
Last tips on the title: you may use titles with emojis. If this is the case, these won’t work with GD, so you will need to remove them:
private function removeEmoji($string): string
{
    // Match Emoticons
    $clear_string = preg_replace('/[\x{1F600}-\x{1F64F}]/u', '', $string);
    // Match Miscellaneous Symbols and Pictographs
    $clear_string = preg_replace('/[\x{1F300}-\x{1F5FF}]/u', '', $clear_string);
    // Match Transport And Map Symbols
    $clear_string = preg_replace('/[\x{1F680}-\x{1F6FF}]/u', '', $clear_string);
    // Match Miscellaneous Symbols
    $clear_string = preg_replace('/[\x{2600}-\x{26FF}]/u', '', $clear_string);
    // Match Dingbats
    $clear_string = preg_replace('/[\x{2700}-\x{27BF}]/u', '', $clear_string);

    return preg_replace('/\s\s+/', ' ', $clear_string);
}
And don’t forget to generate a new preview image if you edit the title of your Article, or any other part that is displayed on your preview images!
For the remaining “basic” elements of our preview image, such as the author, the date or the logo, we will only use elements we have previously discussed. For this reason, we will fast forward to the most exciting part: adding a Nicolas Cage image in the background.
Don’t worry, a gist of the complete ArticlePreviewRenderer class is provided at the end of the article.
Before adding our background image, we probably want to see how is our article preview image once we added all the textual elements:
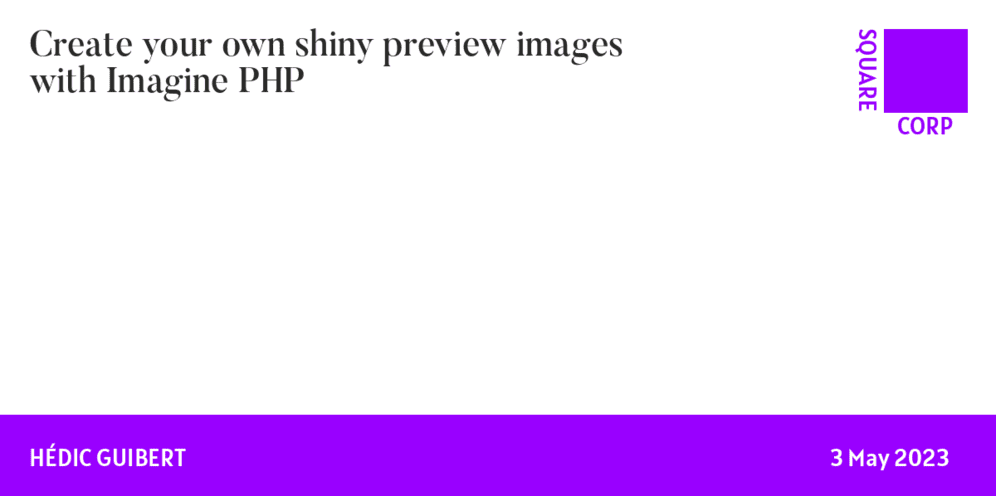
Now that we have displayed all the information we needed, we may head towards the main attraction: the background image.
Section intitulée the-star-of-the-show-creating-a-background-imageThe star of the show: creating a background image
To add an image to our original base image, we will need to proceed differently, because we don’t intend to write on the original image. Instead, we intend to paste an image on it. Hence, we will not use a Drawer this time, but our original Image, which has its own helpful methods.
To load an image, we will need to use our Imagine instance, which provides an open() method:
$backgroundImage = $this->imagine->open($this->publicDir . '/img/nicolas_cage.jpg');Then we need to paste it on our original image:
$image->paste($backgroundImage, new Point(0, 0));And that’s it, we have our Nicolas Cage image!
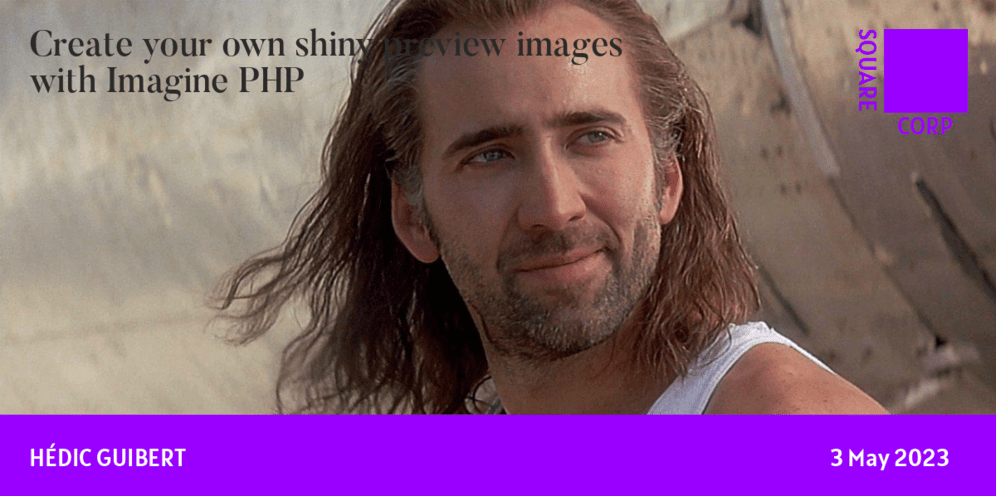
However, it could use some transparency to increase the contrast with the text. This is our next step. But before that, we will want to resize our image and to center it. It might look fine, but this is just by chance. Many images will need to be centered and/or resized. Plus, not all images are in the landscape format. Now, to resize this image, we will need to know if we should resize it horizontally or vertically, because we may use a landscape or a portrait image. To achieve this, we need to calculate the aspect ratio of the image and multiply it with our base image width. This way, we will know the new height of the imported image once resized, thanks to which we will determine if our image is a landscape or a portrait image. Let’s see how to do this in PHP and with Imagine:
$aspectRatio = $backgroundImage->getSize()->getHeight() / $backgroundImage->getSize()->getWidth();
$resizedHeight = $aspectRatio * $this->imageWidth;

if ($resizedHeight >= $this->imageHeight) {
    // The image has sufficient height. We need to resize it horizontally.
    $backgroundImage->resize($backgroundImage->getSize()->widen($this->imageWidth));
} else {
    // The image has insufficient height. We need to resize it vertically.
    $backgroundImage->resize($backgroundImage->getSize()->heighten($this->imageHeight));
}
Once we have our aspect ratio, we are able to use it to know if the background image is a portrait or a landscape. Then, we may use the heighten() and widen() methods of the Box to make our background image fit nicely in our original image.
There is still a small issue remaining with our background image: it is not centered.
Centering it is a bit more tricky. Thankfully, there is a Center class that holds the coordinates of the center of a Box. We will use another method available on the Image, crop(), and our newly created Center to center the image:
$aspectRatio = $backgroundImage->getSize()->getHeight() / $backgroundImage->getSize()->getWidth();
$resizedHeight = $aspectRatio * $this->imageWidth;

if ($resizedHeight >= $this->imageHeight) {
    // The image has sufficient height. We need to resize it horizontally and to center it vertically.
    $backgroundImage->resize($backgroundImage->getSize()->widen($this->imageWidth));
    $center = new Center(new Box($this->imageWidth, $backgroundImage->getSize()->getHeight() / 2));

    // Some images don't crop well because their height, once resized, is too short. These will render with some white space at the bottom.
    // To prevent this, we don't  center them vertically. It will not really be noticeable since their new height will be very close to the box height.
    if ($center->getY() >= 200) {
        $backgroundImage->crop(
            new Point(0, $center->getY()),
            $image->getSize()
        );
    }
} else {
    // The image has insufficient height. We need to resize it vertically and to center it horizontally.
    $backgroundImage->resize($backgroundImage->getSize()->heighten($this->imageHeight));
    $center = new Center(new Box($backgroundImage->getSize()->getWidth() / 2, $backgroundImage->getSize()->getHeight()));

    // Some images don't crop well because their width, once resized, is too narrow. These will render with some white space on the right.
    // To prevent this, we don't  center them horizontally. It will not really be noticeable since their new width will be very close to the box width.
    if ($center->getX() >= 390) {
        $backgroundImage->crop(
            new Point($center->getX(), 0),
            $image->getSize()
        );
    }
}
We see that when centering by the height or by the width, we halve the corresponding value of the Box. If we don’t do this, the image will not match the height or width of the base Box, but only its half, leaving a blank space. Then, we added a condition that prevents some images from being cropped if their center X or Y value is too low. This condition was added after experiencing some cases where the image would leave a thin blank space after being cropped. We found out that these images should not be cropped nor centered and would just do better if left as is. Here is an example of such case:

And voilà! Our image fits nicely in our article preview. We are not showing the result here because it barely has any difference when compared to the one you saw above. Last step: making it transparent!
To make the background image transparent, we will want to paste another image on top of it, which will be an entirely white image with some negative alpha.
To create a white image, we will use a white linear gradient, called Vertical. To give this gradient a negative alpha, we will use the dissolve() method of the Color. Finally, we create a new image and fill it with our Vertical thanks to the fill() method of the Image. We paste the images and we’re done:
$white = $backgroundImage->palette()->color('fff');
$fill = new Vertical(
    $backgroundImage->getSize()->getHeight(),
    // from…
    $white->dissolve(-30),
    // …to
    $white->dissolve(-30),
);

$transparentImage = $this->imagine->create($backgroundImage->getSize())
    ->fill($fill);

$backgroundImage->paste($transparentImage, new Point(0, 0));
$image->paste($backgroundImage, new Point(0, 0));
Our whole preview image is ready! For sure it looks stunning… right?
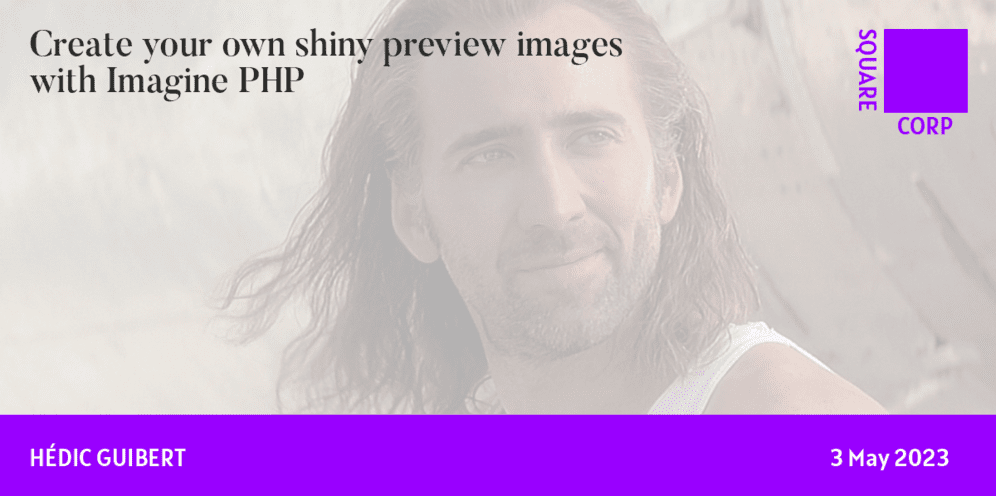
G L O R I O U S 😍
To use it as a preview, you will need to add an Open Graph HTML tag in the head of your document:
<meta property="og:image" content="path_to_your_preview_image">You are ready to post your blog articles on social networks!
Section intitulée conclusionConclusion
The complete ArticlePreviewRenderer is available in this gist. This is a quite simple example (bar the background image maybe) of what you may achieve with Imagine. With more creativity and knowledge of the library, you could probably do some very impressive images!
Commentaires et discussions
Ces clients ont profité de notre expertise

JoliCode continue d’accompagner les équipes web d’Afflelou en assurant la maintenance des différentes applications constituant la plateforme Web B2C. Nous mettons en place des bonnes pratiques avec PHPStan et Rector, procédons à la montée de version de PHP et Symfony, optimisons le code grâce au profiling, et collaborons avec l’infogéreur pour les…

Au fil de notre collaboration avec Deezer, nous avons été impliqués dans plusieurs initiatives visant à optimiser les performances de leur plateforme. Notre engagement initial s’est concentré sur le soutien et le conseil à l’équipe “Product Features” lors de leur projet de migration en cours. Nous avons apporté notre expertise pour résoudre…

L’équipe de Finarta a fait appel à JoliCode pour le développement de leur plateforme Web. Basée sur le framework Symfony 2, l’application est un réseau privé de galerie et se veut être une place de communication et de vente d’oeuvres d’art entre ses membres. Pour cela, de nombreuses règles de droits ont été mises en places et une administration poussée…