Starting a mobile application with React Native
While preparing our next React Native training, I learnt a lot on the library and discovered an amazing community with a lot of packages. I felt the need to share the treasures I found.
Section intitulée how-to-start-your-projectHow to start your project
There are already many ways to start your project, the simplest and official way is with react-native-cli.
react-native init AwesomeProject will generate all the project files needed to start with iOS and Android platforms (ex: Xcode and Gradle configurations).
What if you need more ? Lucky you, I found three starter kits to bootstrap your project! Here are some explanations on each one, to help you choose the right one for your need. Be careful, they come with technical choices and some boilerplate code that you may not need.
Section intitulée a-rel-nofollow-noopener-noreferrer-href-https-github-com-bartonhammond-snowflake-snowflake-aSnowflake
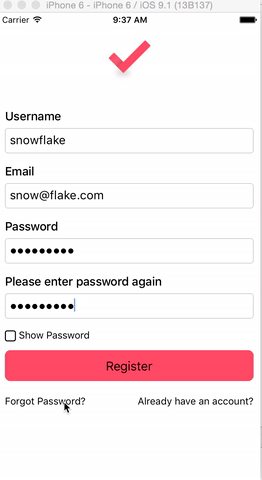
Highly focused on testing and CI, this one comes with nice video tutorials to guide you through. The author explains his choices and help you understand the redux architecture. I find this a really good template to begin with.

Section intitulée a-rel-nofollow-noopener-noreferrer-href-https-github-com-futurice-pepperoni-app-kit-pepperoni-aPepperoni
Inspired from Snowflake with even more tools, like Auth0 integration, multi-environment configuration or Enzyme for testing. More advanced than Snowflake but also less accessible.

Section intitulée a-rel-nofollow-noopener-noreferrer-href-https-github-com-infinitered-ignite-ignite-aIgnite
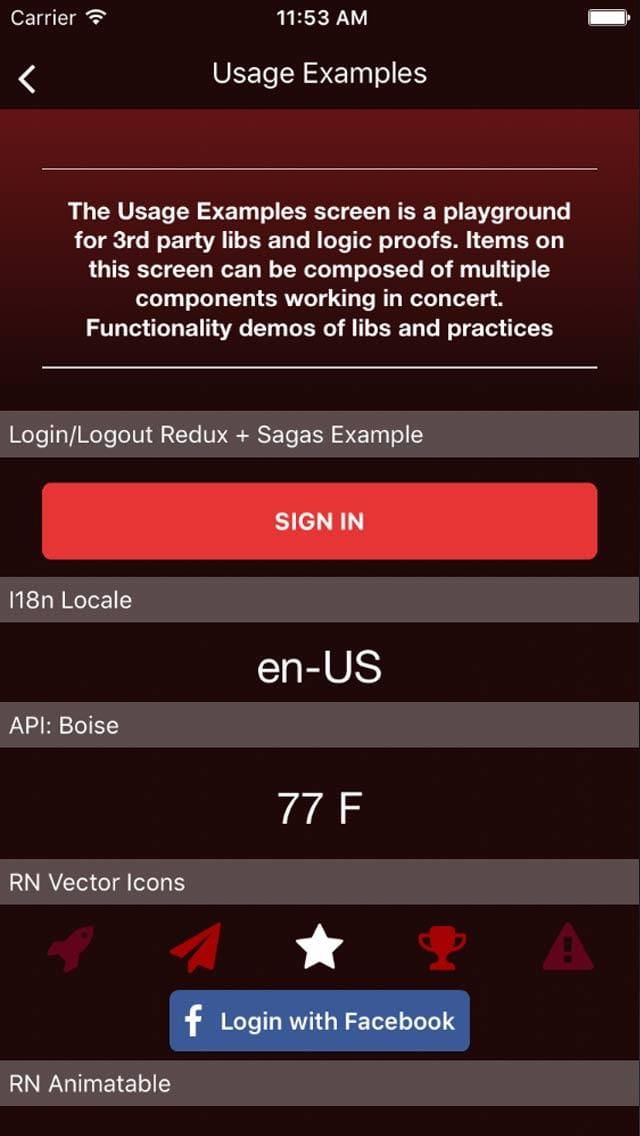
This one comes with generators that can help you iterate more quickly. Again, it is more complex than the others, with libs included (ie. react-native-maps) and another test mechanism built with AVA. I recommend this one for advanced users.

Section intitulée architecture-and-navigationArchitecture and navigation
All the previous starter kits are using Redux, this is a nice choice with React and it helps a lot managing the state of your application. The new NavigatorExperimental merged in React Native is already using reducers to handle the navigation state.
But this is not mandatory and you could just build your app without it, for example just using smart and dumb components, with the stateful Navigator component.
I think the main difficulty when implementing the navigation is the number of choices available. To help you with that, I’ll try to clarify each of the navigation options.
Section intitulée navigatoriosNavigatorIOS
The first option is a fully native one, only for iOS, sadly. It leverages the UIViewController to handle the navigation stack and the transition. This is the way to go if you are building only for iOS and you want to feel as close as possible to the system UI. Since the stack is handled natively, you could run into problems when trying to manage it on the JS side. It is also less customizable than the others.
Section intitulée navigatorNavigator
This navigation component is built only with JS and so is completely cross platform and customizable. Since all transitions are built in JS, opening a heavy page could lead to FPS drop and degrade the experience. The library proposes an InteractionManager to avoid doing work when transitioning with a method runAfterInteractions but keep in mind that this delays the render of your new scene. This component is also stateful, unlike the next one…
Section intitulée navigationexperimentalNavigationExperimental
As the name tells you, this one is experimental and varies across releases. Fortunately, @jlyman is keeping an updated repo after each release with the implementations.
NavigationExperimental relies on redux to handle the state and modify the navigation stack, this is the way to go if you want all your app to be managed by it. It needs more boilerplate code to start with but @jlyman and the official documentation will satisfy your copypasta addiction.
Section intitulée react-native-navigationreact-native-navigation
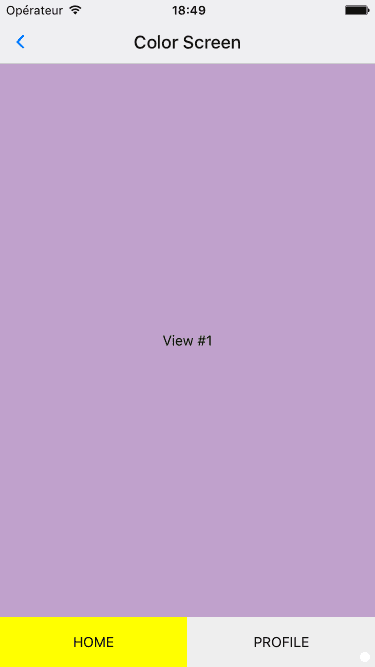
The last option is available as a module, and mentioned in the documentation page of NavigatorIOS. It provides a native navigation for both platforms and can be used with Redux! Since the navigation state is on the native side, the installation process involves editing the entry point and adding some boilerplate code in Objective-C and Java. The Android part is still a work in progress but I tried the examples and they all work really well. This is the way to go if you want to be as close as possible with the native UI and animation of the platforms.
Section intitulée must-have-libraryMust have library
A lot of my research was into looking for the best components we could use to build our apps. Here is a tiny list of native and pure Javascript libraries for your development.
Section intitulée javascript-librariesJavascript libraries
Since we are not in a browser context nor a nodejs context, library using window, document or node modules will not work. Here is a short list of the ones I find interesting:
- MomentJS: fully featured date and time library
- UnderscoreJS / lodash: toolkit to manipulate arrays, objects, strings…
- ImmutableJS: immutable collections implementation
- Redux thunk, redux saga: handling of asynchronous actions with Redux
Section intitulée react-native-librariesReact Native libraries
- react-native-gifted-listview: list enhancement with pull to refresh and load more capability
- react-native-gifted-form: many form widgets and customization
- react-native-scrollable-tab-view: tabs navigation
- redux devtools, reactotron: debug tools for Redux, time travel, logs and dispatching actions manually
- react-native-drawer: drawer navigation built only with JS
- react-native-elements: nice UI toolkit for faster development
- Many many more… see js.coach
Section intitulée test-your-app-or-notTest your app (or not)
Testing is at your discretion but the tooling is ready and waiting for you!
The official way seems to be Jest which provides mocks for React Native and a nice feature called Snapshot which allow developers to write fast tests to validate a component tree over time.
I saw other implementations using Enzyme and react-native-mock, closer to the ReactJS way. A good start is to look at the official implementation example by Airbnb.
import React, { View, Text, StyleSheet } from 'react-native';
import { shallow } from 'enzyme';
import MyComponent from '../src/MyComponent';
import { expect } from 'chai';

describe('<MyComponent />', () => {
  it('should render stuff', () => {
    const wrapper = shallow(<MyComponent />);
    expect(wrapper.length).to.equal(1);
    expect(wrapper.contains(<Text>I wonder if there will be any problems...</Text>)).to.equal(true);
  });
});
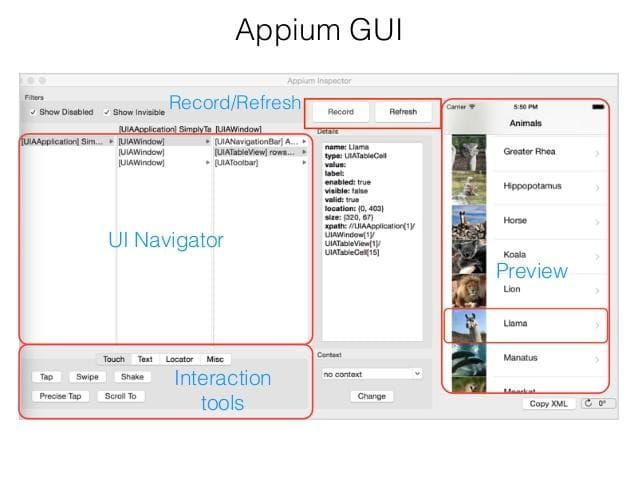
This covers up for unit testing in JS but you can also create functional tests, for this I tried Appium. This is an open source client-server software for manipulating simulator and device, the fun part is that the driver is implemented in many languages so you can write your tests also with JS and node. There is also a GUI to select manually the elements and generate boilerplate code.

Section intitulée deploymentDeployment
Section intitulée assetsAssets
A tedious task when releasing an app is to create icons, images and splash screens for each device and platform. When using Titanium, we used Ticons which is a good cli library to integrate in your workflow and it also available as a website on http://ticons.fokkezb.nl/.
Ionic CLI has something similar that also supports PSD and AI files.
Both can be used with a React Native environment.
Section intitulée buildingBuilding
The React Native documentation covers the basics for releasing your app. I suggest two services that will help you deliver faster.
CodePush is a SAAS service (by Microsoft) with a CLI and a native module to include in your app. It will allow to bypass the store release process for minor updates. It works by saving your JS code and assets on the server, your app check if updates are available and download it in background. The next app restart will have the updated version.
Another toolkit already used by many iOS and Android developers is Fastlane. This is an automation tool that will handle many repeated tasks like certification and profile generation or creating screenshots for each device size. It also lives versioned in a config file just next to your app, this is the ultimate time saving tool for mobile development.
Section intitulée continuous-integrationContinuous integration
After setting up the tests in my app, I was looking for a CI supporting both iOS and Android. I looked at CircleCI which has a paid plan for OSX but instead I tried Bitrise which has also specific support for React Native and a free plan. After following the excellent tutorials from the Snowflake starter kit, I had a working build with jest tests, release bundle and release xcode build working! Below is the only file needed to make this work.
format_version: 1.1.0
default_step_lib_source: https://github.com/bitrise-io/bitrise-steplib.git
app:
  envs:
  - BITRISE_PROJECT_PATH: ios/example.xcodeproj
    opts:
      is_expand: false
  - BITRISE_SCHEME: example
    opts:
      is_expand: false
trigger_map:
- pattern: master
  is_pull_request_allowed: true
  workflow: primary
workflows:
  primary:
    steps:
    - activate-ssh-key@3.1.1:
        title: Activate App SSH key
        inputs:
        - ssh_key_save_path: "$HOME/.ssh/steplib_ssh_step_id_rsa"
    - git-clone@3.3.3:
        inputs:
        - clone_depth: '1'
    - change-workdir@1.0.1:
        inputs:
        - path: example-react-native-app
        - is_create_path: 'false'
    - script@1.1.2:
        title: npm install
        inputs:
        - content: |-
            #!/bin/bash
            npm install
    - script@1.1.2:
        title: npm test
        inputs:
        - content: |-
            #!/bin/bash
            npm test
    - install-react-native@0.1.0: {}
    - react-native-bundle@0.2.0:
        inputs:
        - entry_file: "./index.ios.js"
        - out: ''
Section intitulée an-amazing-ecosystemAn amazing ecosystem
Building our training program was really awesome with all the amazing resources and people experimenting with the library. Developing a React Native app is not only writing JS code but also having the right toolkit to iterate quickly and have a first class app at the end.
If you want to know more and create an app from scratch during a three days session, head over to our React Native training.
Commentaires et discussions
Baywatch : d’Angular à React, avec une dose de ReactNative
Je n’ai pas pu résister longtemps à l’envie de réécrire l’application Baywatch en React, notre application (et la vôtre) de partage de veille. La première version Angular, développée il y a 3 ans, était un petit…
par Baptiste Adrien
Mon premier module Open Source pour React Native
Souhaitant développer une application mobile pour une webradio avec comme cible Android et iOS, mon choix s’est porté sur React Native qui fait beaucoup parler de lui ses derniers temps et que nous souhaitons utiliser…
par Thibault Lenclos
Nos articles sur le même sujet
Nos formations sur ce sujet
Notre expertise est aussi disponible sous forme de formations professionnelles !

React Native
Développez des applications mobiles natives et cross-platform pour iOS et Android
Ces clients ont profité de notre expertise

Dans le cadre du renouveau de sa stratégie digitale, Orpi France a fait appel à JoliCode afin de diriger la refonte du site Web orpi.com et l’intégration de nombreux nouveaux services. Pour effectuer cette migration, nous nous sommes appuyés sur une architecture en microservices à l’aide de PHP, Symfony, RabbitMQ, Elasticsearch et Docker.

Nous avons accompagné le groupe Colliers dans la conception et le développement d’une application web, pensée pour leurs clients grands comptes. Cette plateforme permet à ces utilisateurs VIP d’accéder à des données de marché exclusives sur l’investissement immobilier et le marché locatif en Île-de-France. L’ensemble des données est présenté sous forme…

Refonte complète de la plateforme d’annonces immobilières de Cushman & Wakefield France. Connecté aux outils historiques, cette nouvelle vitrine permet une bien meilleure visibilité SEO et permet la mise en avant d’actifs qui ne pouvaient pas l’être auparavant.